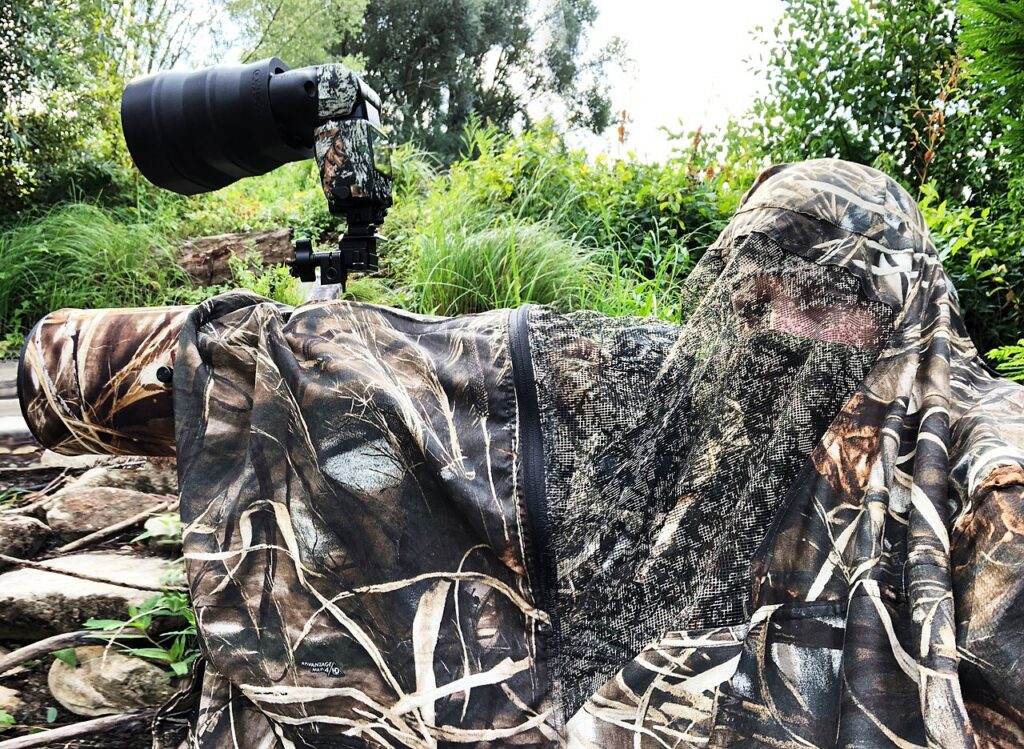
Wildlife photography combines fieldcraft, patience, technical skill and luck. The good news is that you do not need the most expensive camera to take beautiful pictures. Understanding light, behaviour and a few key settings matters far more. This guide covers everything a beginner needs, from gear to ethics.
Gear: start with what you have
Cameras
- Smartphones are excellent for landscapes, close encounters and video, but struggle with distant animals.
- Bridge cameras with long built-in zooms are affordable and light, ideal for travellers.
- Mirrorless or DSLR cameras with interchangeable lenses give the best image quality, fast autofocus and flexibility. Modern entry-level mirrorless cameras have excellent animal-eye autofocus.
Lenses
- Telephoto zoom (100–400 mm, 150–600 mm or 200–600 mm): the most useful lens for wildlife.
- Standard zoom (24–105 mm or similar): for landscapes, habitats and animals close to the vehicle.
- Teleconverters extend reach but reduce light and autofocus speed.
Accessories
- Spare batteries and memory cards
- A bean bag to support your lens on a vehicle window or door
- A monopod or tripod for hides and slow shutter work
- Lens cloth, blower and a rain cover
- Binoculars for spotting before you shoot
Camera settings for sharp wildlife photos
Use shutter priority or manual with auto-ISO
- Shutter priority (S or Tv): you set the shutter speed; the camera sets the aperture.
- Manual with auto-ISO: you set shutter speed and aperture; the camera adjusts ISO for exposure. Many wildlife photographers prefer this.
Shutter speed guide
| Subject | Suggested minimum shutter speed |
|---|---|
| Resting animals | 1/250–1/500 s (with image stabilisation) |
| Walking animals | 1/800–1/1000 s |
| Running mammals and birds in flight | 1/2000–1/4000 s |
| Creative motion blur (panning) | 1/15–1/60 s |
Aperture
Shoot wide open or close to it (for example, f/5.6–f/8) to blur the background and let in more light.
ISO
Do not fear high ISO. A slightly noisy but sharp photo is better than a clean but blurred one. Modern cameras handle ISO 3,200–6,400 well, and noise reduction software has improved dramatically.
Autofocus
- Use continuous autofocus (AF-C or AI Servo) for moving animals.
- Enable animal or bird eye detection if your camera has it.
- Try back-button focus to separate focusing from the shutter release.
- Use burst mode to capture peak action.
File format
Shoot in RAW to have more flexibility when editing exposure, colour and highlights.
Composition tips
- Focus on the eye. If the eye is sharp, the picture feels alive.
- Get down to eye level. Photographing from the animal’s height creates intimacy.
- Leave space in the direction the animal is looking or moving.
- Use the rule of thirds, but break it when a centred composition is stronger.
- Show the habitat. Wide environmental portraits tell a story about where animals live.
- Look for behaviour. Interaction, hunting, play and grooming make better images than a static portrait.
- Check the background. A clean, uncluttered background makes your subject stand out.
Light
- Golden hour, the first and last hour of sunlight, gives warm, soft light and long shadows.
- Backlighting creates glowing rim light on fur and feathers.
- Overcast days are great for forests and soft, even light.
- Midday light is harsh; use it for black-and-white images or behaviour.
Safari techniques
- Turn off the engine: ask your guide to switch it off to avoid vibration.
- Use a bean bag rather than a tripod in vehicles.
- Anticipate behaviour: learn animal habits so you are ready when something happens.
- Be patient: wait at sightings rather than rushing to the next.
Ethics: the animal comes first
- Never bait or feed animals to get a shot.
- Do not use playback calls excessively, especially in breeding season or for threatened species.
- Keep your distance. If an animal changes its behaviour because of you, you are too close.
- Avoid flash with nocturnal animals and in sensitive situations.
- Do not share precise locations of rare or persecuted species, such as rhinos, nesting raptors or rare orchids.
- Be honest: clearly label photos of captive animals and disclose significant digital manipulation.
- Follow park rules and respect other visitors.
Editing basics
Use software such as Lightroom, Capture One or free alternatives like darktable to adjust exposure, contrast, white balance and cropping, and apply noise reduction. Keep edits natural; the aim is to show the scene as you experienced it.
Practise close to home
Local parks, wetlands and your garden are perfect for practice. Birds at feeders, ducks on a pond and squirrels in a park teach the same skills you will need on safari.
Frequently asked questions
What is the best lens for wildlife photography? A telephoto zoom such as a 100–400 mm or 150–600 mm offers the best balance of reach and flexibility for most beginners.
What shutter speed should I use? Start at 1/1000 s for moving animals and 1/2000 s or faster for birds in flight. Resting animals can be shot at slower speeds with image stabilisation.
Can I take good wildlife photos with a phone? Yes, for close encounters, landscapes and habitats, especially in good light. For distant animals, a camera with a long lens is much better.
How can I practise before a safari? Photograph birds and animals in local parks, gardens and wetlands. Practise tracking moving subjects and changing settings quickly.
Related guides
Cover photo: gerhard kremer, CC BY-SA 4.0, via Wikimedia Commons